One of the critical elements for achieving ideal results with a concrete floor coating is proper preparation of the concrete surface. This may sound elementary, but it’s surprising how many flooring contractors don’t actually follow the protocols that optimize results and customer satisfaction.
It’s not just the preparation phase that makes a difference. There are fine points all along the way that make a huge difference in the outcome. The following steps should be followed for optimal results:
Determine Floor Type
Not all concrete floors are the same. Is the existing concrete soft, medium or hard? Understanding what’s already there is the foundational step for everything that follows.
Select the Right Grinding Methodology
The two main approaches are:
Shot Blasting – Most contractors use shot blasting because it’s the cheaper way to go. However shot blasting is often too aggressive an approach, and is usually more appropriate for resurfacing rather than for applying a thin film. Shot blasting is downright abusive to concrete and can create stress fractures in the floor. No matter how carefully it’s done, it also creates pits and valleys, high spots and low spots. When it comes to coatings such as urethane and epoxy, diamond grinding is usually the better approach.

Diamond Grinding is a preferred prep method for a variety of reasons. Many contractors don’t it because it requires more time, money and skill. But the most important part is getting the coating to bond to the underlying floor, and diamond grinding is the best way to thoroughly open the pores of the concrete throughout the floor without damaging or gouging the concrete. It also produces the smoothest most uniform finish, thereby producing the best and most long-lasting result. The precision tooling of a diamond grinder also allows a trained technician to select the exact proper cutter for a specific floor, again minimizing damage or gouging to the underlying concrete.

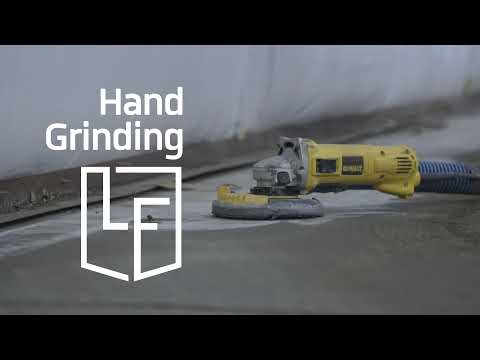
Hand Grind All Edges
Most contractors don’t bother with this detail. They figure their industrial grinders get “close enough.” But without hand grinding the final few inches all the way to the walls, there’s no assurance that the coating will properly bind to the concrete at the edges . . . and that can mean a shoddy result.
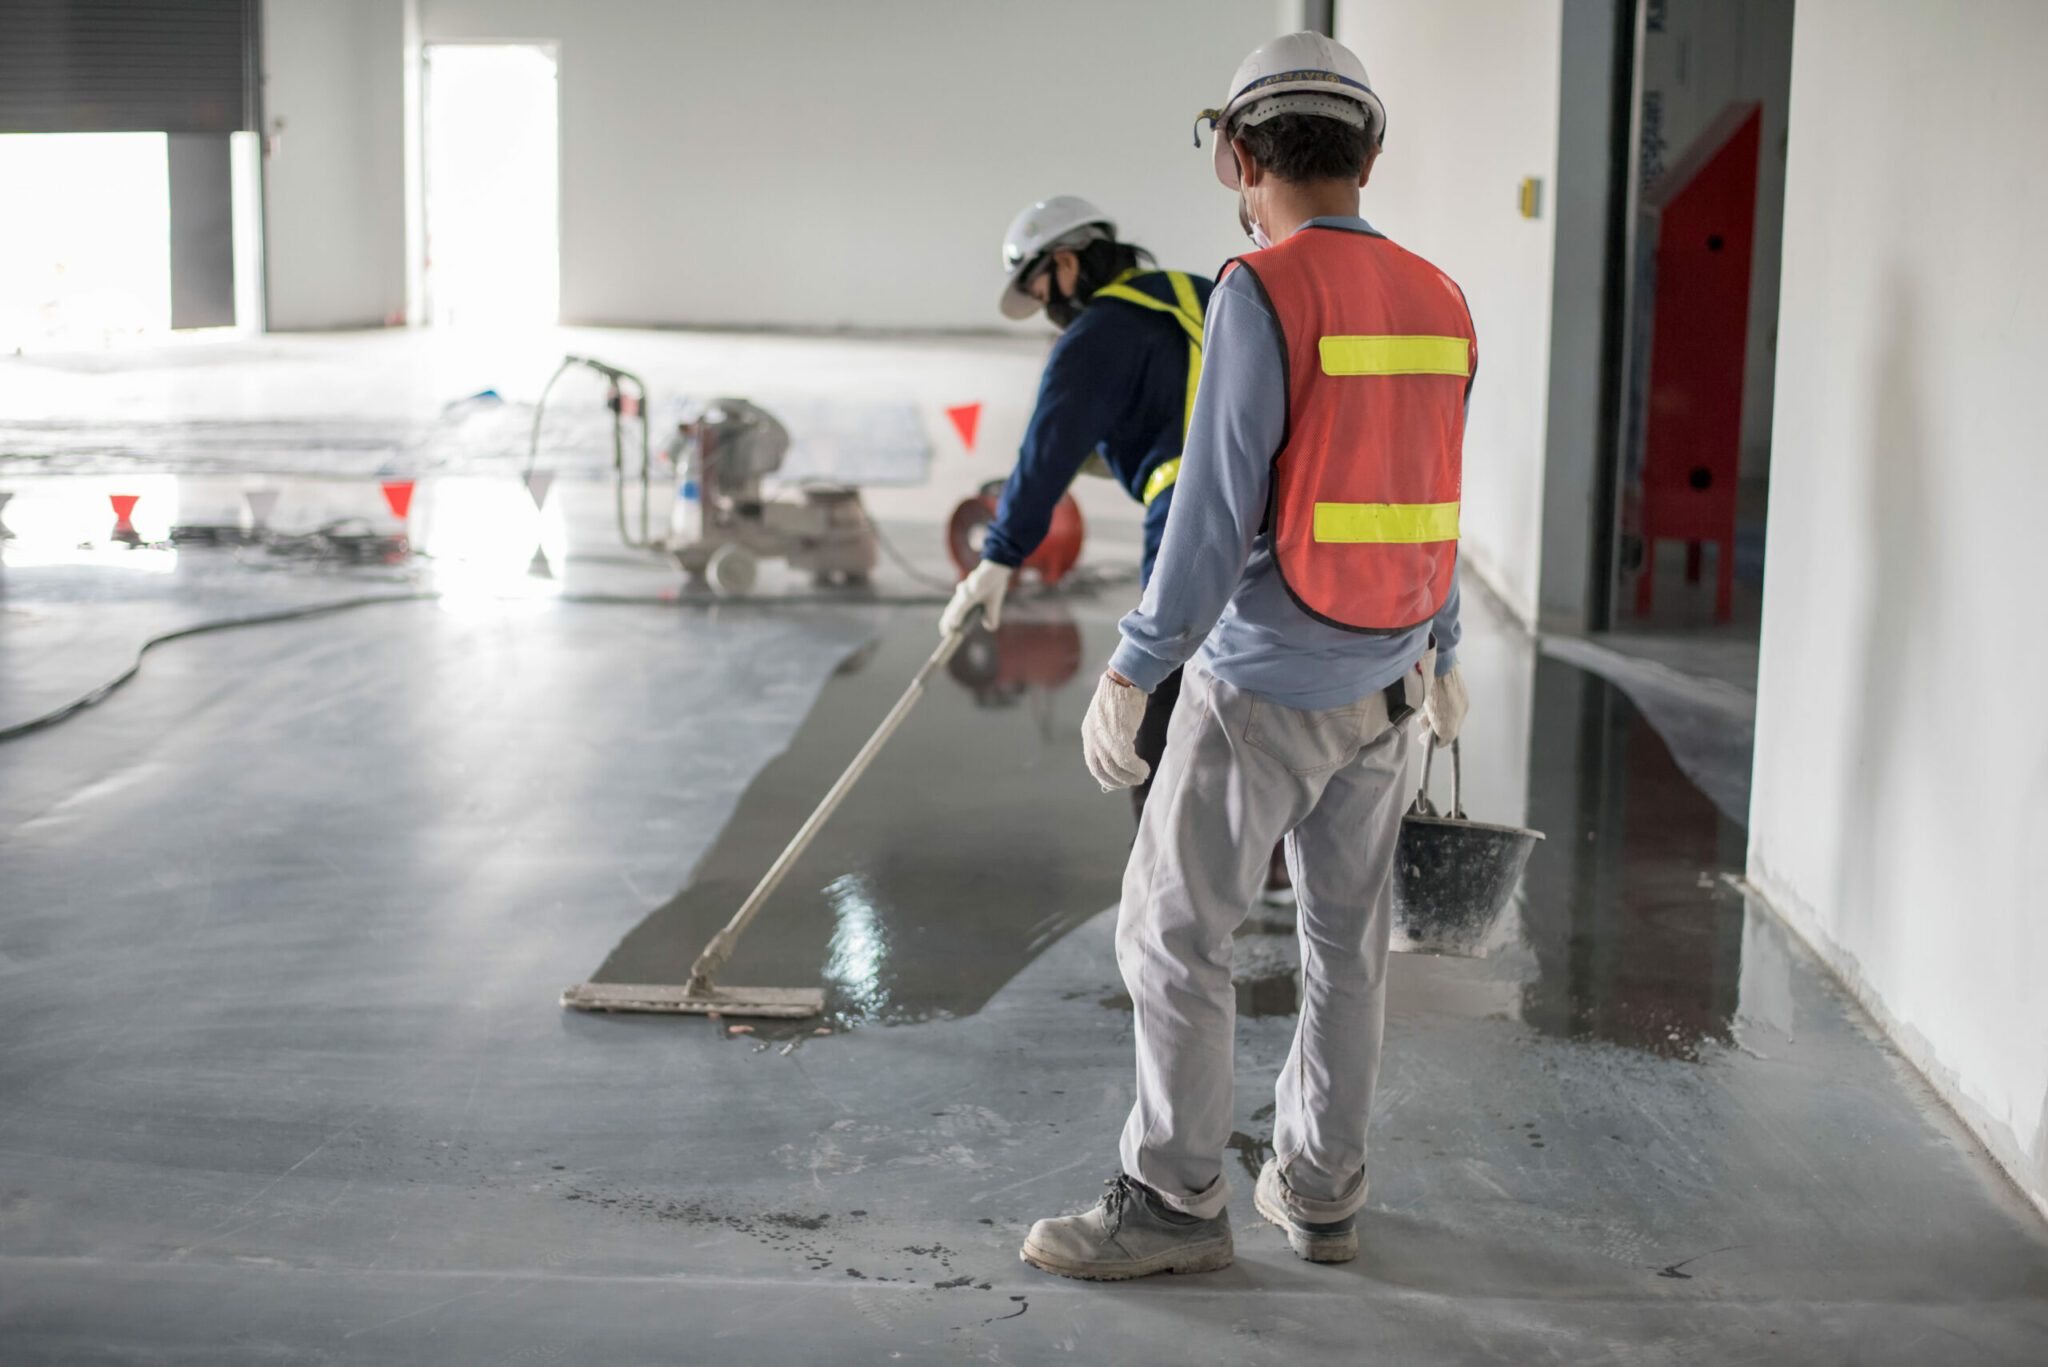
Thorough Cleaning
Once the grinding is complete, the floor must be meticulously swept and vacuumed – all the way to the edges — so that no residue remains that could interfere with complete bonding.
Primer Coat
Apply the first layer of the coating, such as an epoxy primer specifically formulated for penetrating and bonding to the concrete. Usually 3-5 mls in thickness.
Second Layer
Apply the build coat of the epoxy, usually 8–10 mls in thickness.
Sanding
For optimal bonding, both a chemical bond and a mechanical bond are ideal. This is why Liquid Floor Inc.

chooses to sand this epoxy layer, though not everyone bothers with this additional step. Is it absolutely necessary? Maybe not. Does it produce the best and most long lasting result? Absolutely!
Thoroughly Clean After Sanding
Apply Urethane Top Coat
The most important element of this final step is to roll on the urethane within the “recoat window“ for complete bonding between the epoxy and the urethane.
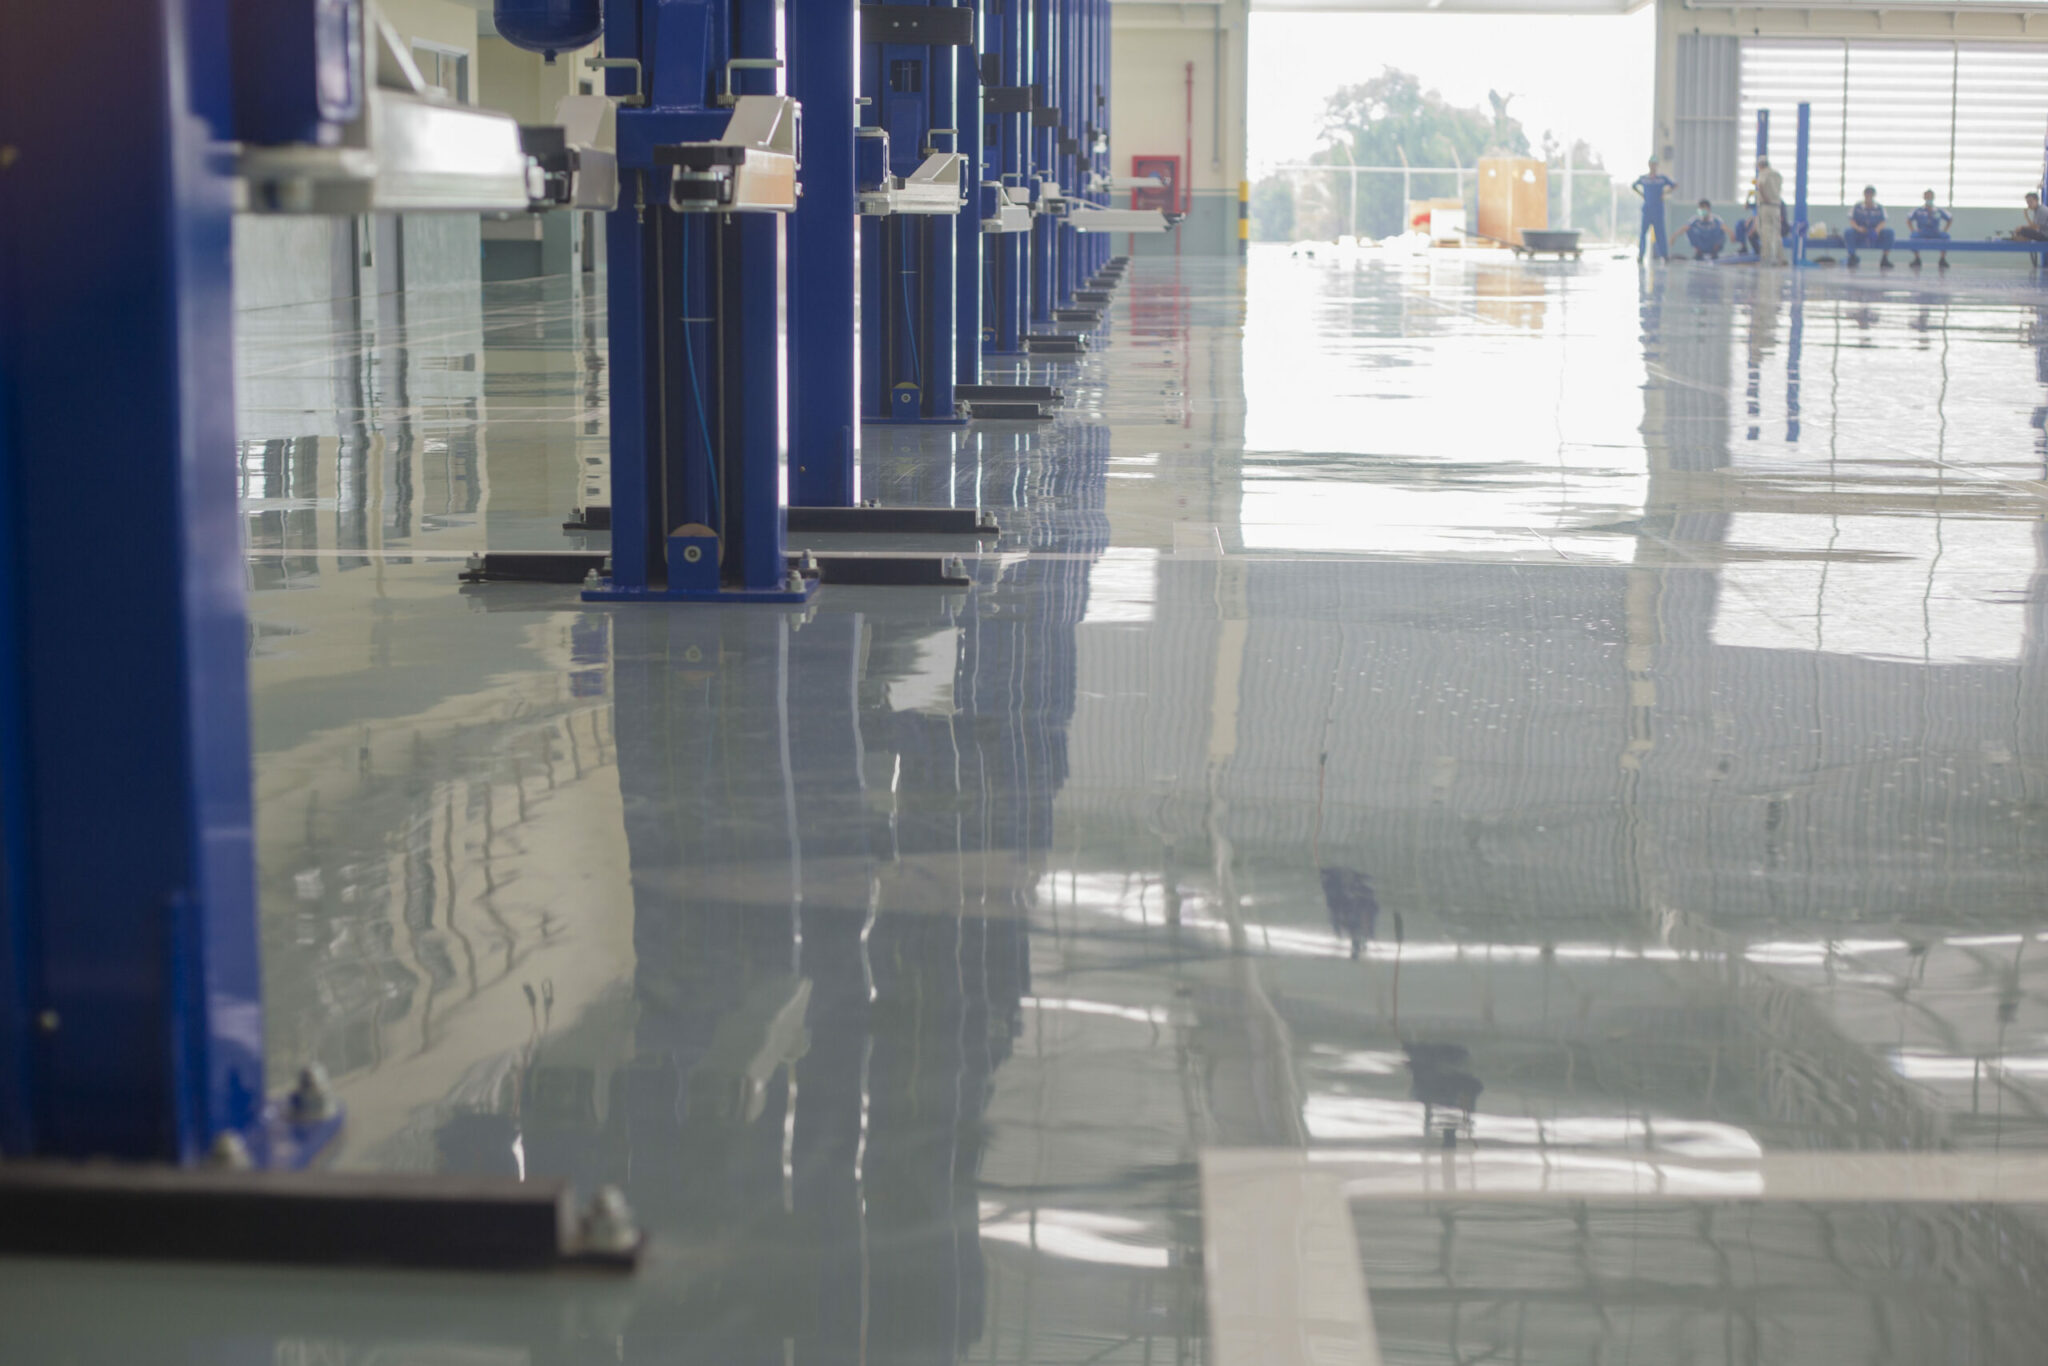
If each of these steps is performed by experienced concrete floor coating professionals, an epoxy floor with a urethane seal is one of the most attractive, long-lasting and cost effective concrete floor coating options available.