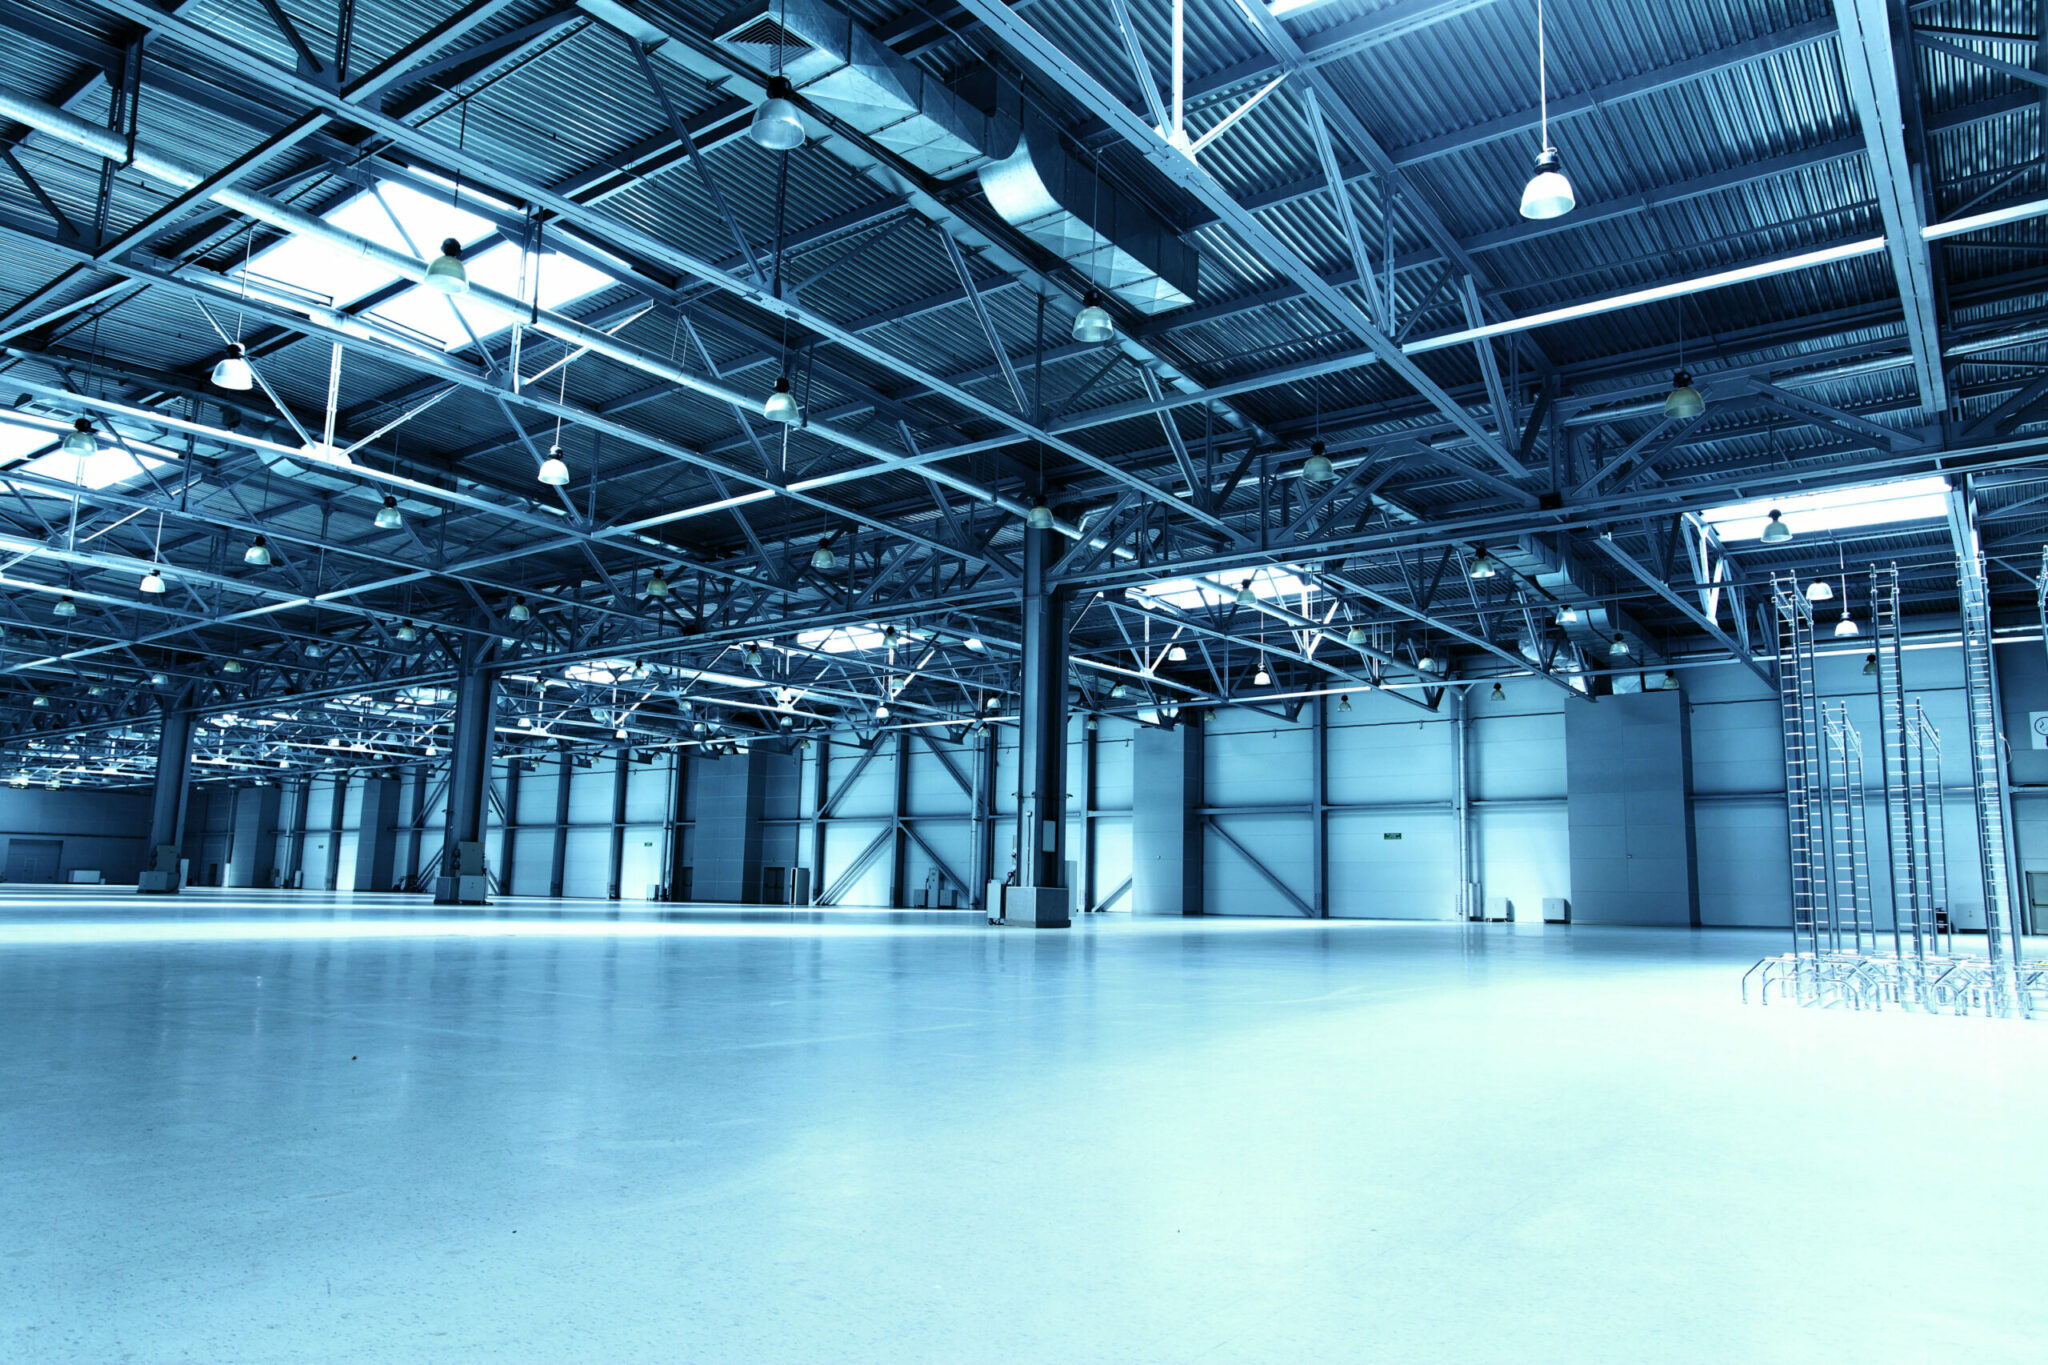
In a world that is increasingly concerned with energy-saving and green building solutions, lighting systems are changing to meet market demand. Commercial, industrial and retail sectors are all adopting these modern solutions to lower electrical bills and conserve energy.
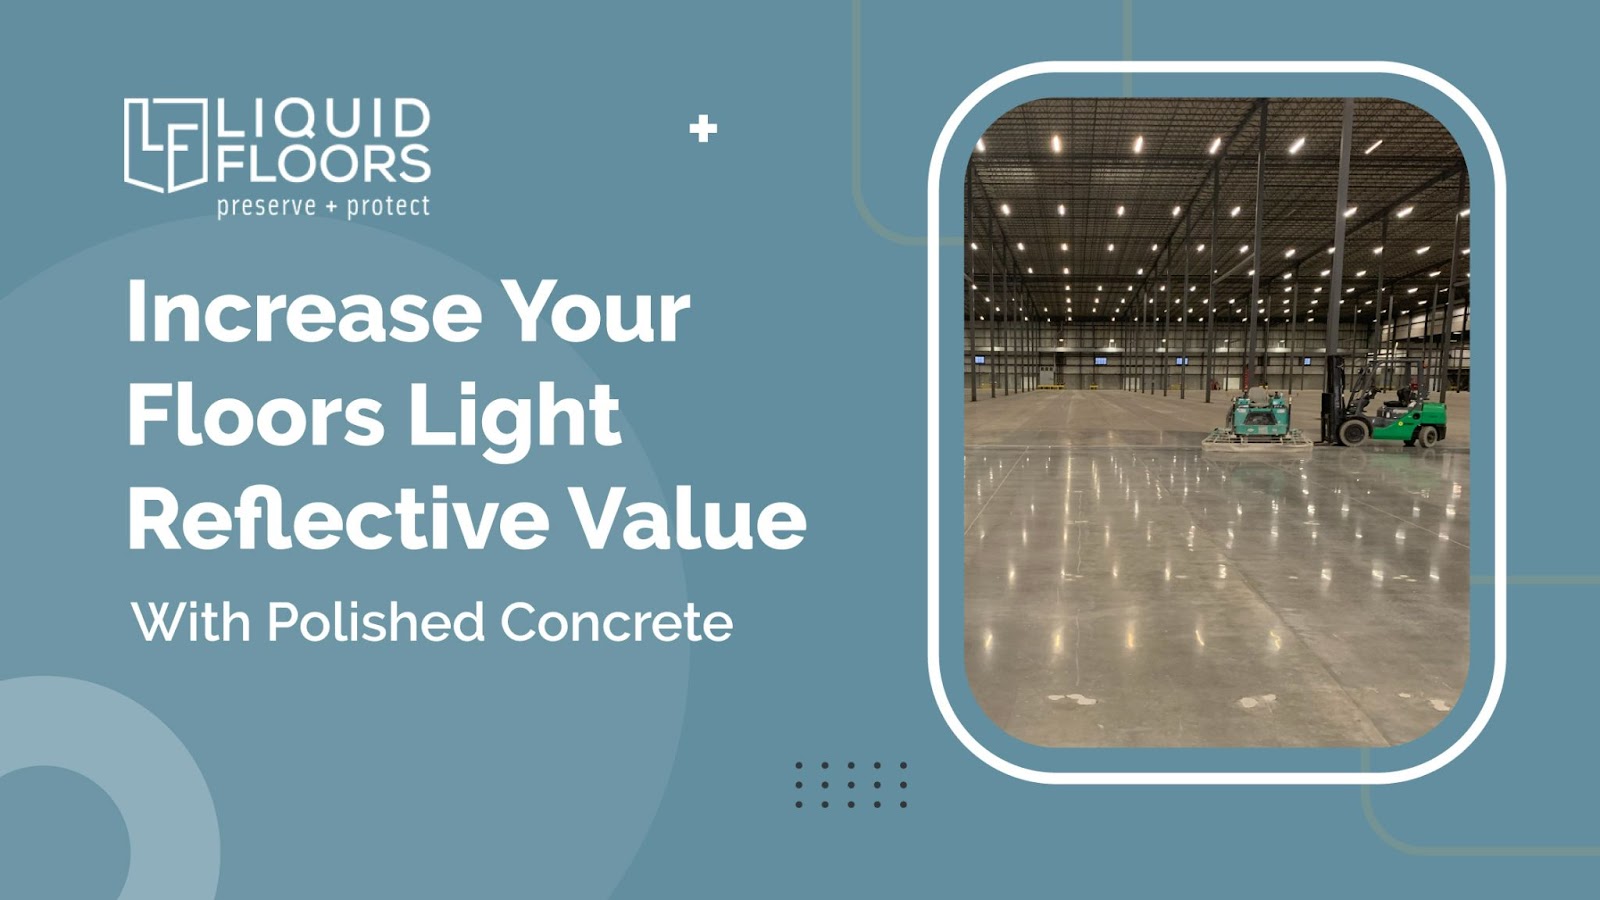
Even with access to modern technology, engineers still find it difficult to predict or control reflection. However, polished concrete finished floors help to increase your building’s light reflective value, which lowers the amount of light required to get the desired results.
In this post, we look at how you can increase your floor’s light value with polished concrete as well as concrete flooring advantages.
Levels of Reflectivity on Polished Concrete
The levels of reflectivity on polished concrete are measured through the Light Reflectance Value (LRV), which informs how much light polished concrete floor colors bounce back and how much light it can retain.
The LRV scale starts from 0% to 100%, with the latter being a white, highly reflective surface while 0% is absolute black which absorbs more light. Since white is more reflective, light concrete floors prove to be effective in increasing your floor’s light reflective value.
The levels of reflectivity on concrete are achieved based on the type of diamond grit being used during the polishing process. The Concrete Polishing Association of America categorizes concrete finish into four broad levels.

- Level one (flat/ ground): This is the basic level with hazy polishing. The reflection of light is relatively low with little to no clarity. The image clarity value for level one is between 0% to 9%. To achieve flat results, you need to halt the diamond grit below the 100 grit resin bond.
- Level two (satin/ honed): The floor polish creates a low-sheen matte finish with some visible low overhead reflections at a distance of roughly 100 feet—the image clarity value for level two ranges between 10% to 39%. The level is achieved by halting at the 400 grit resin bond.
- Level three (semi-polished): This level generates a fair reflection of light, allowing side and overhead lighting clearly visible at a distance of around 30 to 50 feet. The image clarity value for semi-polished surfaces starts from 40% to 69%. You can achieve semi-polished results by using an 800 grit or greater diamond abrasive.
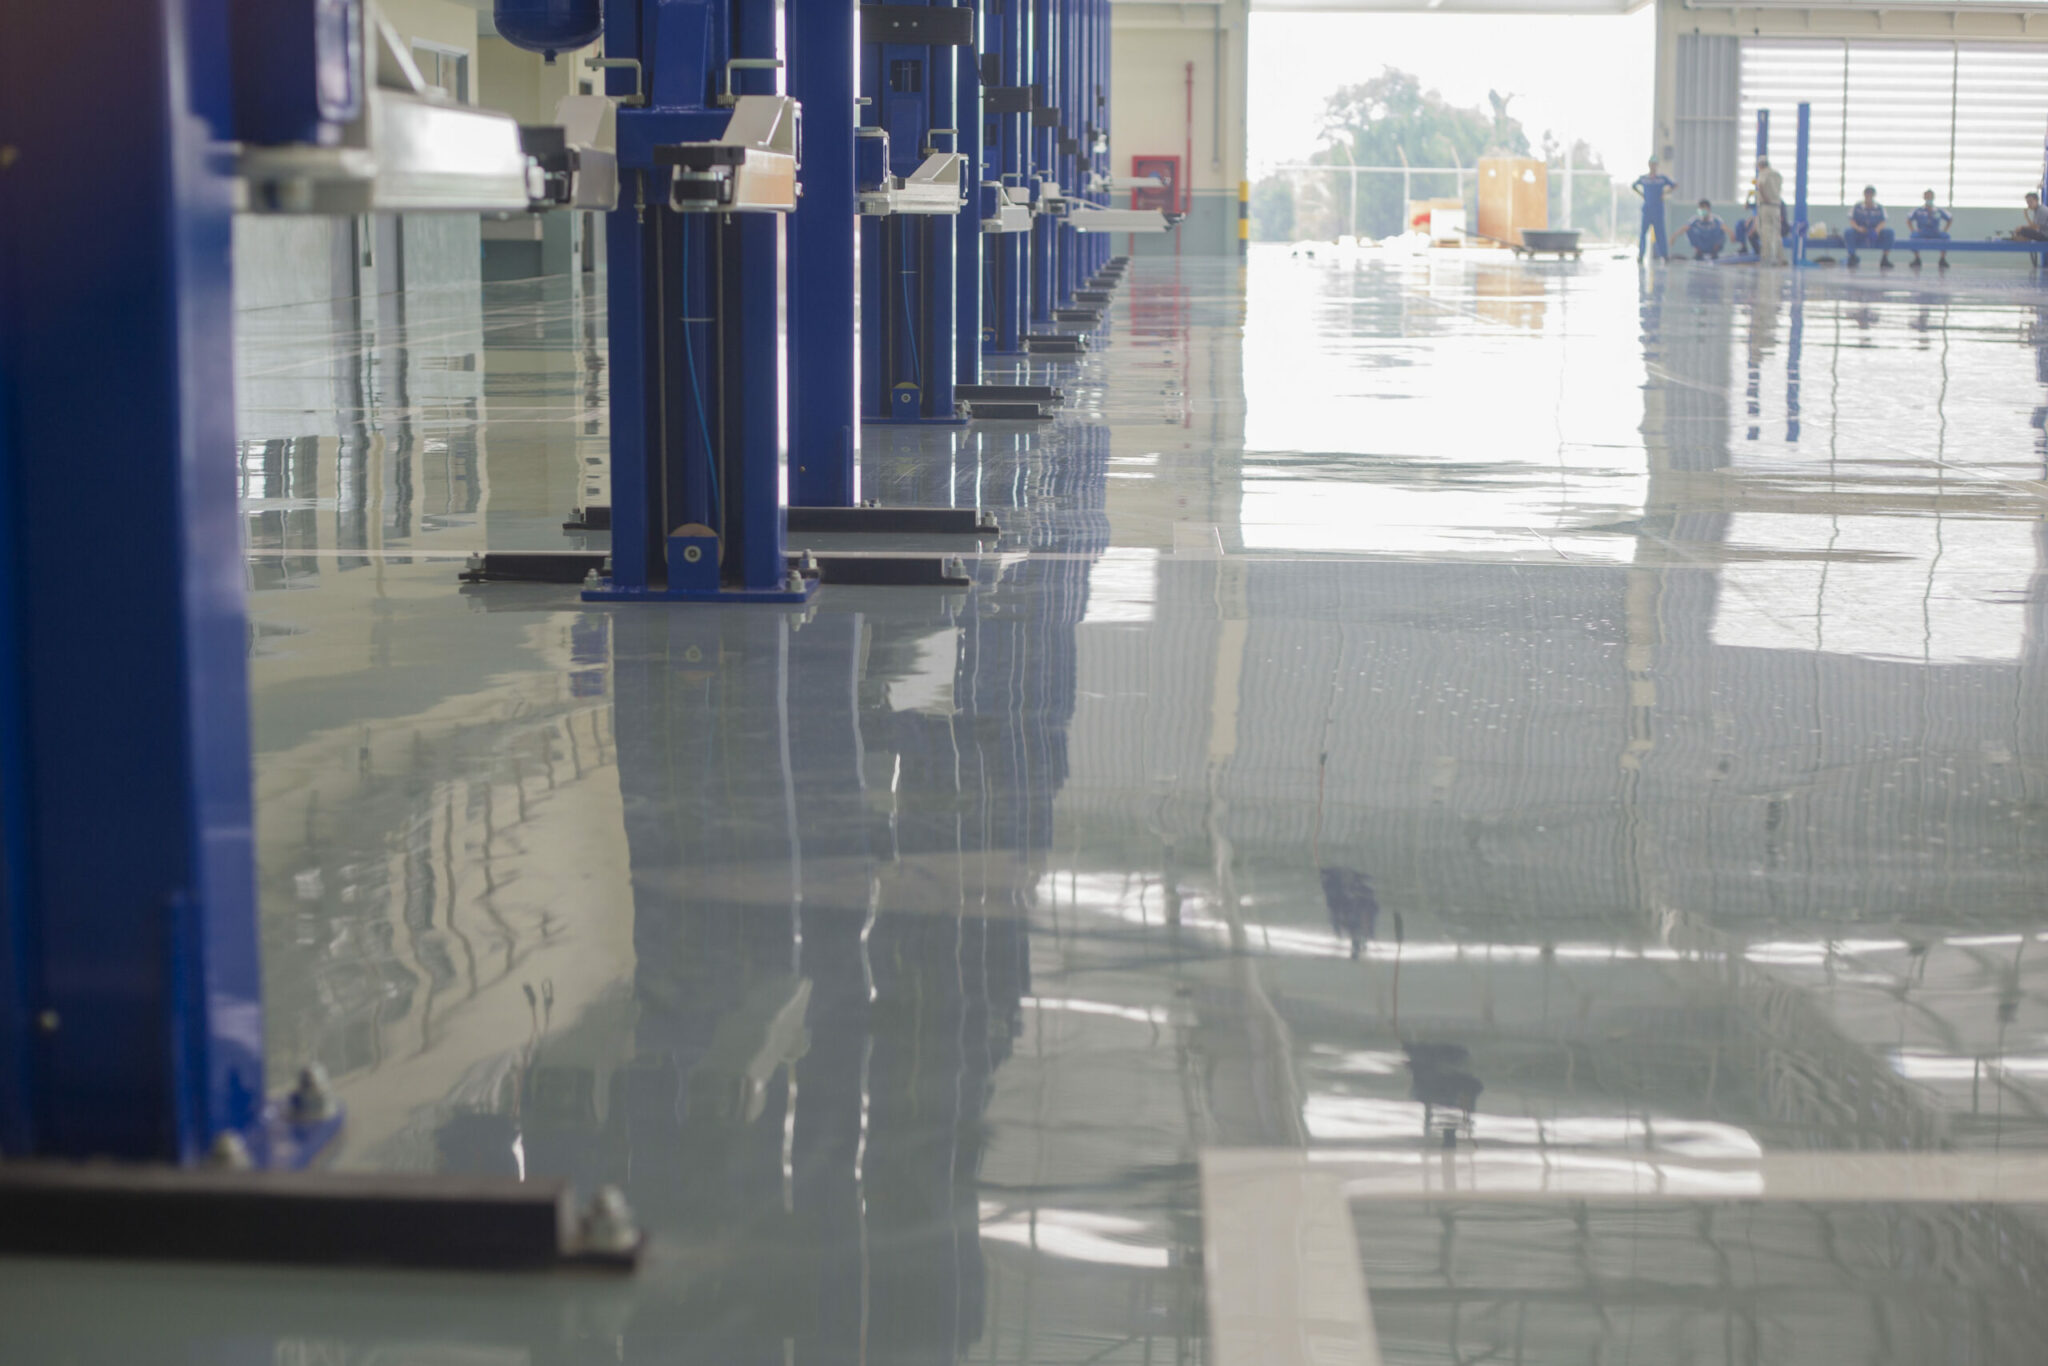
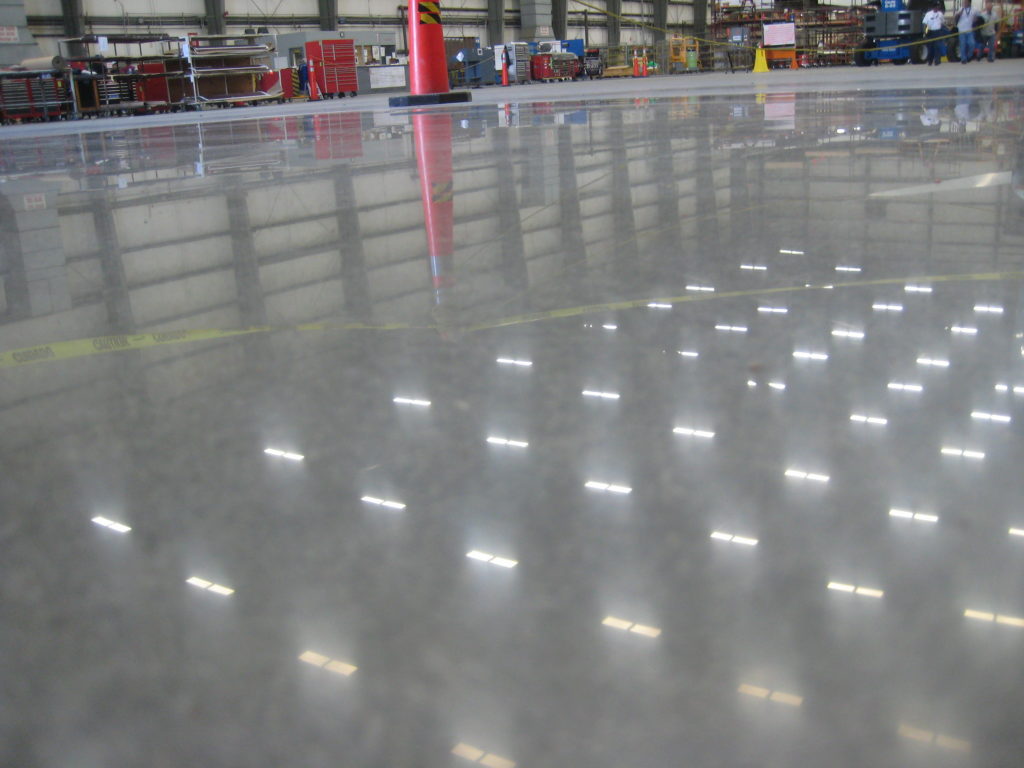
- Level four (highly polished): This polish is similar to a marble finish shine, and you get 100% clear reflections when standing on top of the surface. Sometimes, the floor looks like it is wet and may require grouting. The image clarity value stands at 70% to 100%. A 3,000 grit resin diamond should be used for a highly polished result.
How to Polish Concrete Floors
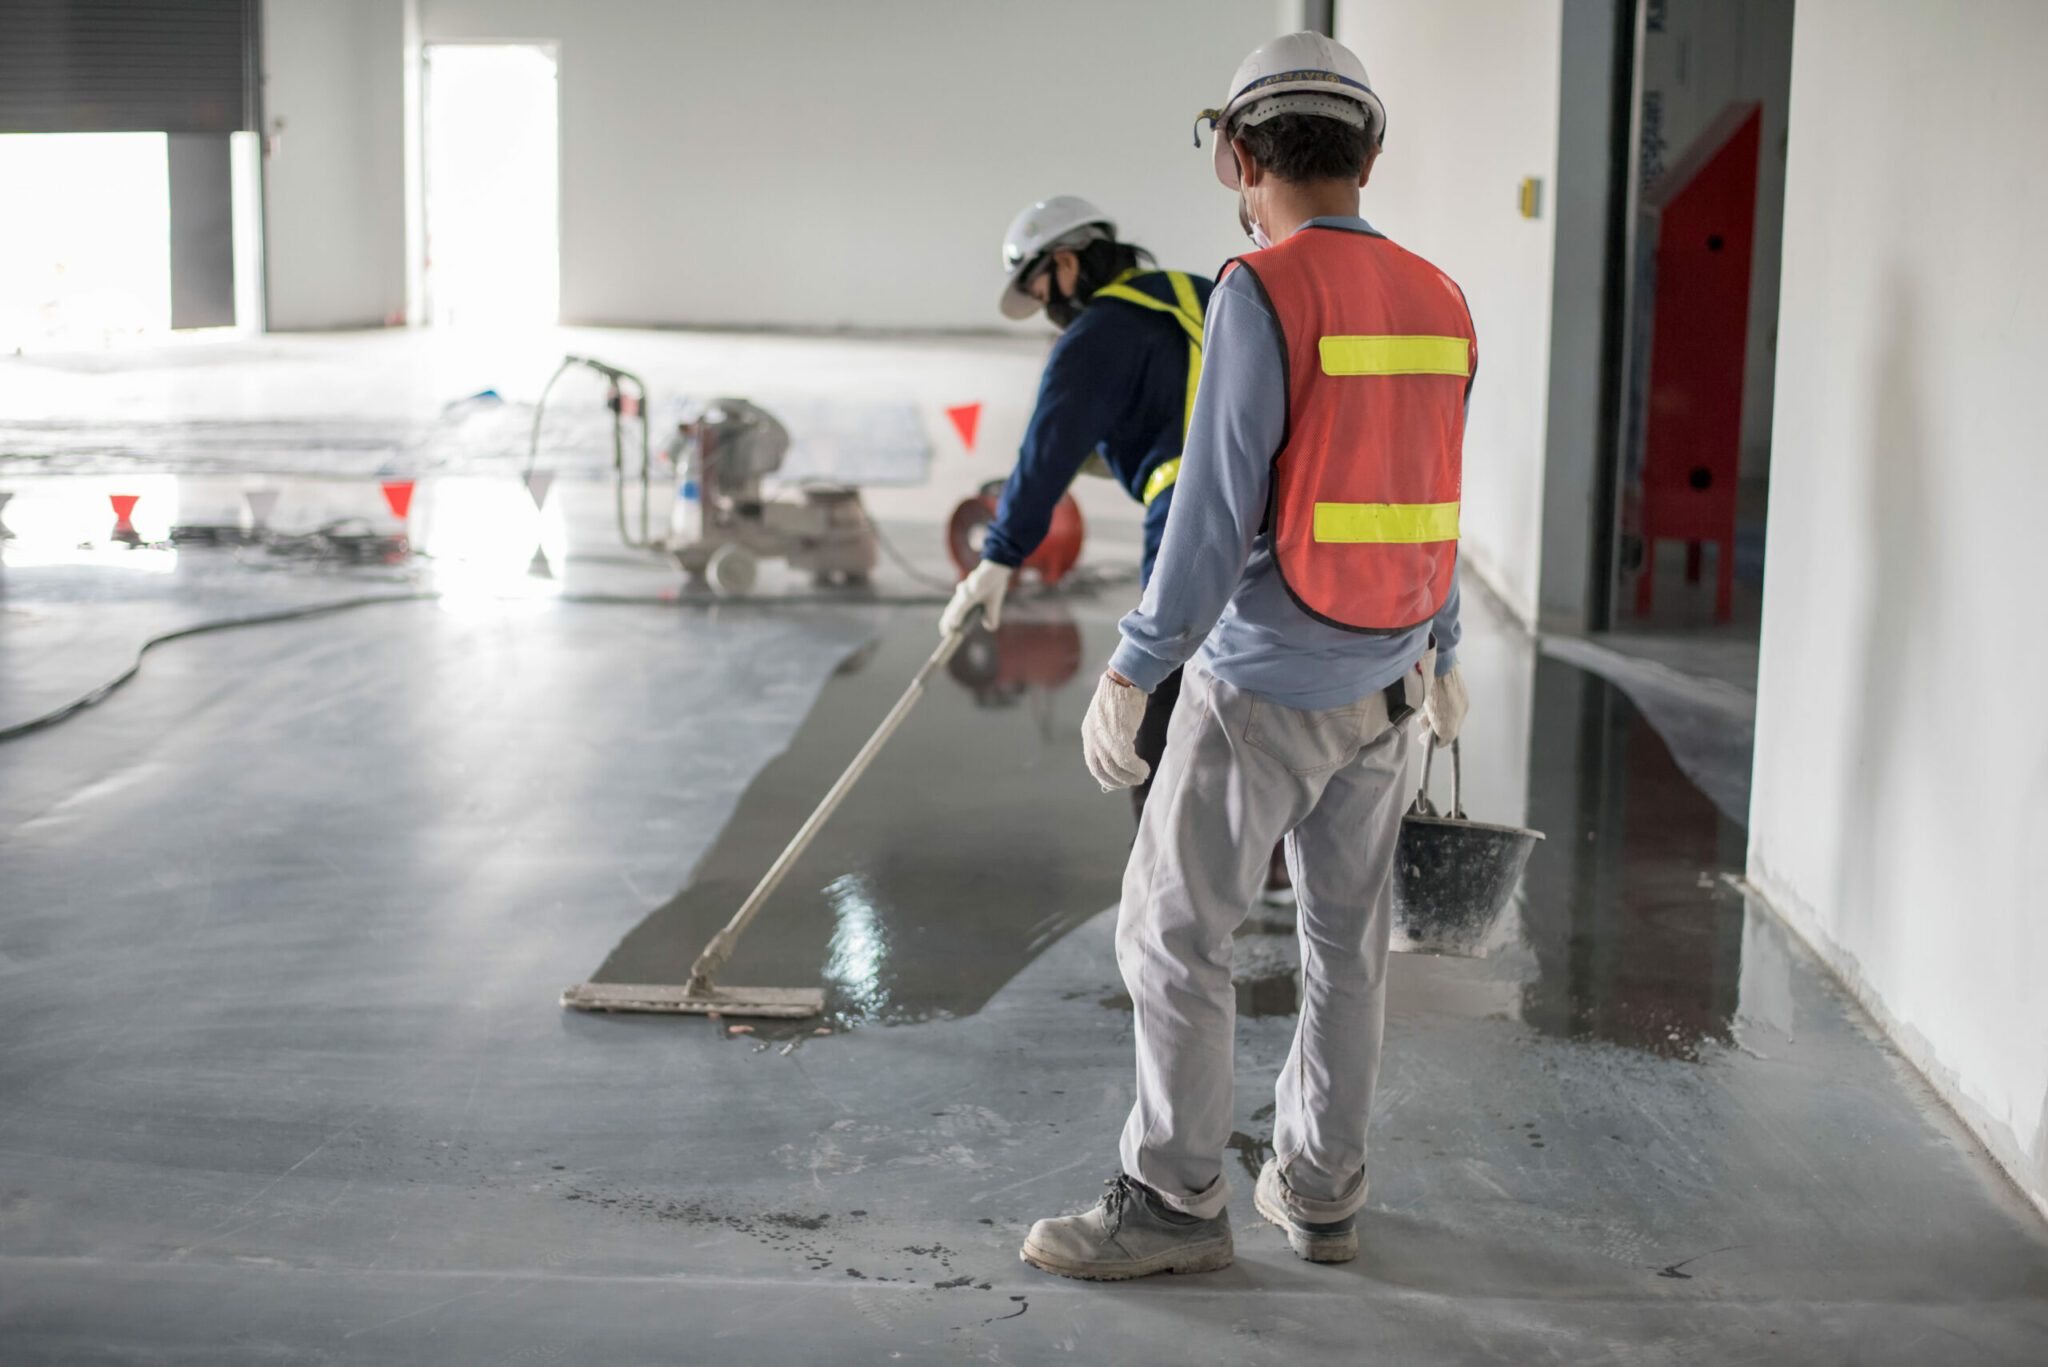
The polishing technique you use directly impacts the outcome, especially in terms of light reflectivity. Polishing a concrete floor simply means having a consistent scratch pattern when passing the diamond disk on the surface.
Poorly polishing the surface can leave irregular scratches on the final product, disrupting the surface’s light reflectivity due to an uneven surface. Ensure you allocate the right amount of time when polishing concrete floors to ensure each part of the surface is worked on using the same pattern.
Below is a step-by-step guide on how to polish concrete floors.
Step One: First Cut
The first step involves preparing the concrete surface for the next steps in the polishing process. The polishing expert checks and removes any uneven spots on the surface while making the surface porous enough to absorb the densifier. A 20/30 metal-bond diamond tool with a coarse grit or a 50/60 – 100/120 grit metal diamond will work well for the First Cut.
Step Two: Grout
Any air pockets, tiny holes, or hairline cracks resulting from the grinding in step one have to be filled using acrylic-based grout. The concrete finishing expert has to work on the grout while it’s still wet to fill in such pores with a 100/120 grit metal diamond. Finally, the concrete floor gets a deep clean using a squeegee.
Step Three: Densifier
After clearing any pores and uneven spots, it’s time to apply the densifier, which hardens the grout together with cement. Ensure the densifier is completely dry before using a higher-grit hybrid diamond to get rid of any irregular scratches left behind by metal-bond diamonds, which makes the floor seem smoother for the next part.
Step Four: Polish
Once you are through with the densifier process, the concrete floor is ready for polishing. The type of outcome you want to achieve for the concrete floor determines the level of grit used for polish. Levels one and two polish require a maximum of 400 grit, while levels three and four need much higher grit, at least 800 grits.
Step Five: Sealer
The final step involves finishing and protecting the polished concrete floor. The concrete finish expert applies a guard that gets soaked into the floor, which then gets buffed after it cures. The expert can also use a sealer instead of a guard. The sealer is placed on the polished floor instead of penetrating the concrete, meaning you eventually have to reapply another coat as well as curing with a high-speed burnisher.
Benefits of Having Polished Concrete Floors
Apart from lowering electricity costs and making buildings greener, polished concrete floors offer many benefits that simply outweigh the cons. Implementing polished concrete as a warehouse lighting solution has been proven to improve workplace morale and productivity. Here are some valuable benefits of implementing retail or industrial polished concrete floors.
- Affordable – Despite their luxurious aesthetic, polishing concrete floors is cheaper than most available flooring options. It is even cheaper if you already have a concrete slab.
- Durable – Concrete floors are highly durable, especially for manufacturing and warehousing facilities, because they can support heavy amounts of weight without any chippings or scratches.
- Healthy – The floor is secured and is non-porous, meaning no allergens or bacteria can collect on any crevices. Additionally, concrete floors don’t have any harmful organics, unlike other floor types like hardwood.
- Non-slip – The primary concern for most people is that polished floors are a bit slippery. Adding an epoxy coating adds a different texture to the concrete floor surface to make it less slippery.
Get the Best Concrete Polish Service from Liquid Floors
At Liquid Floors, our focus is on preserving and protecting your functionally stunning floors and optimizing your workspace. We understand the quality of flooring required for industrial and commercial spaces to ensure you maintain operational efficiency.
Polished concrete floors are a great way to add additional lighting to your building without adding more fixtures. Learn more about concrete polishing by contacting the experts at Liquid Floors.