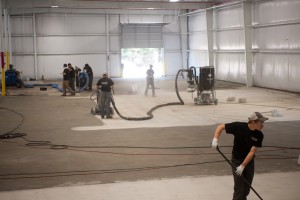
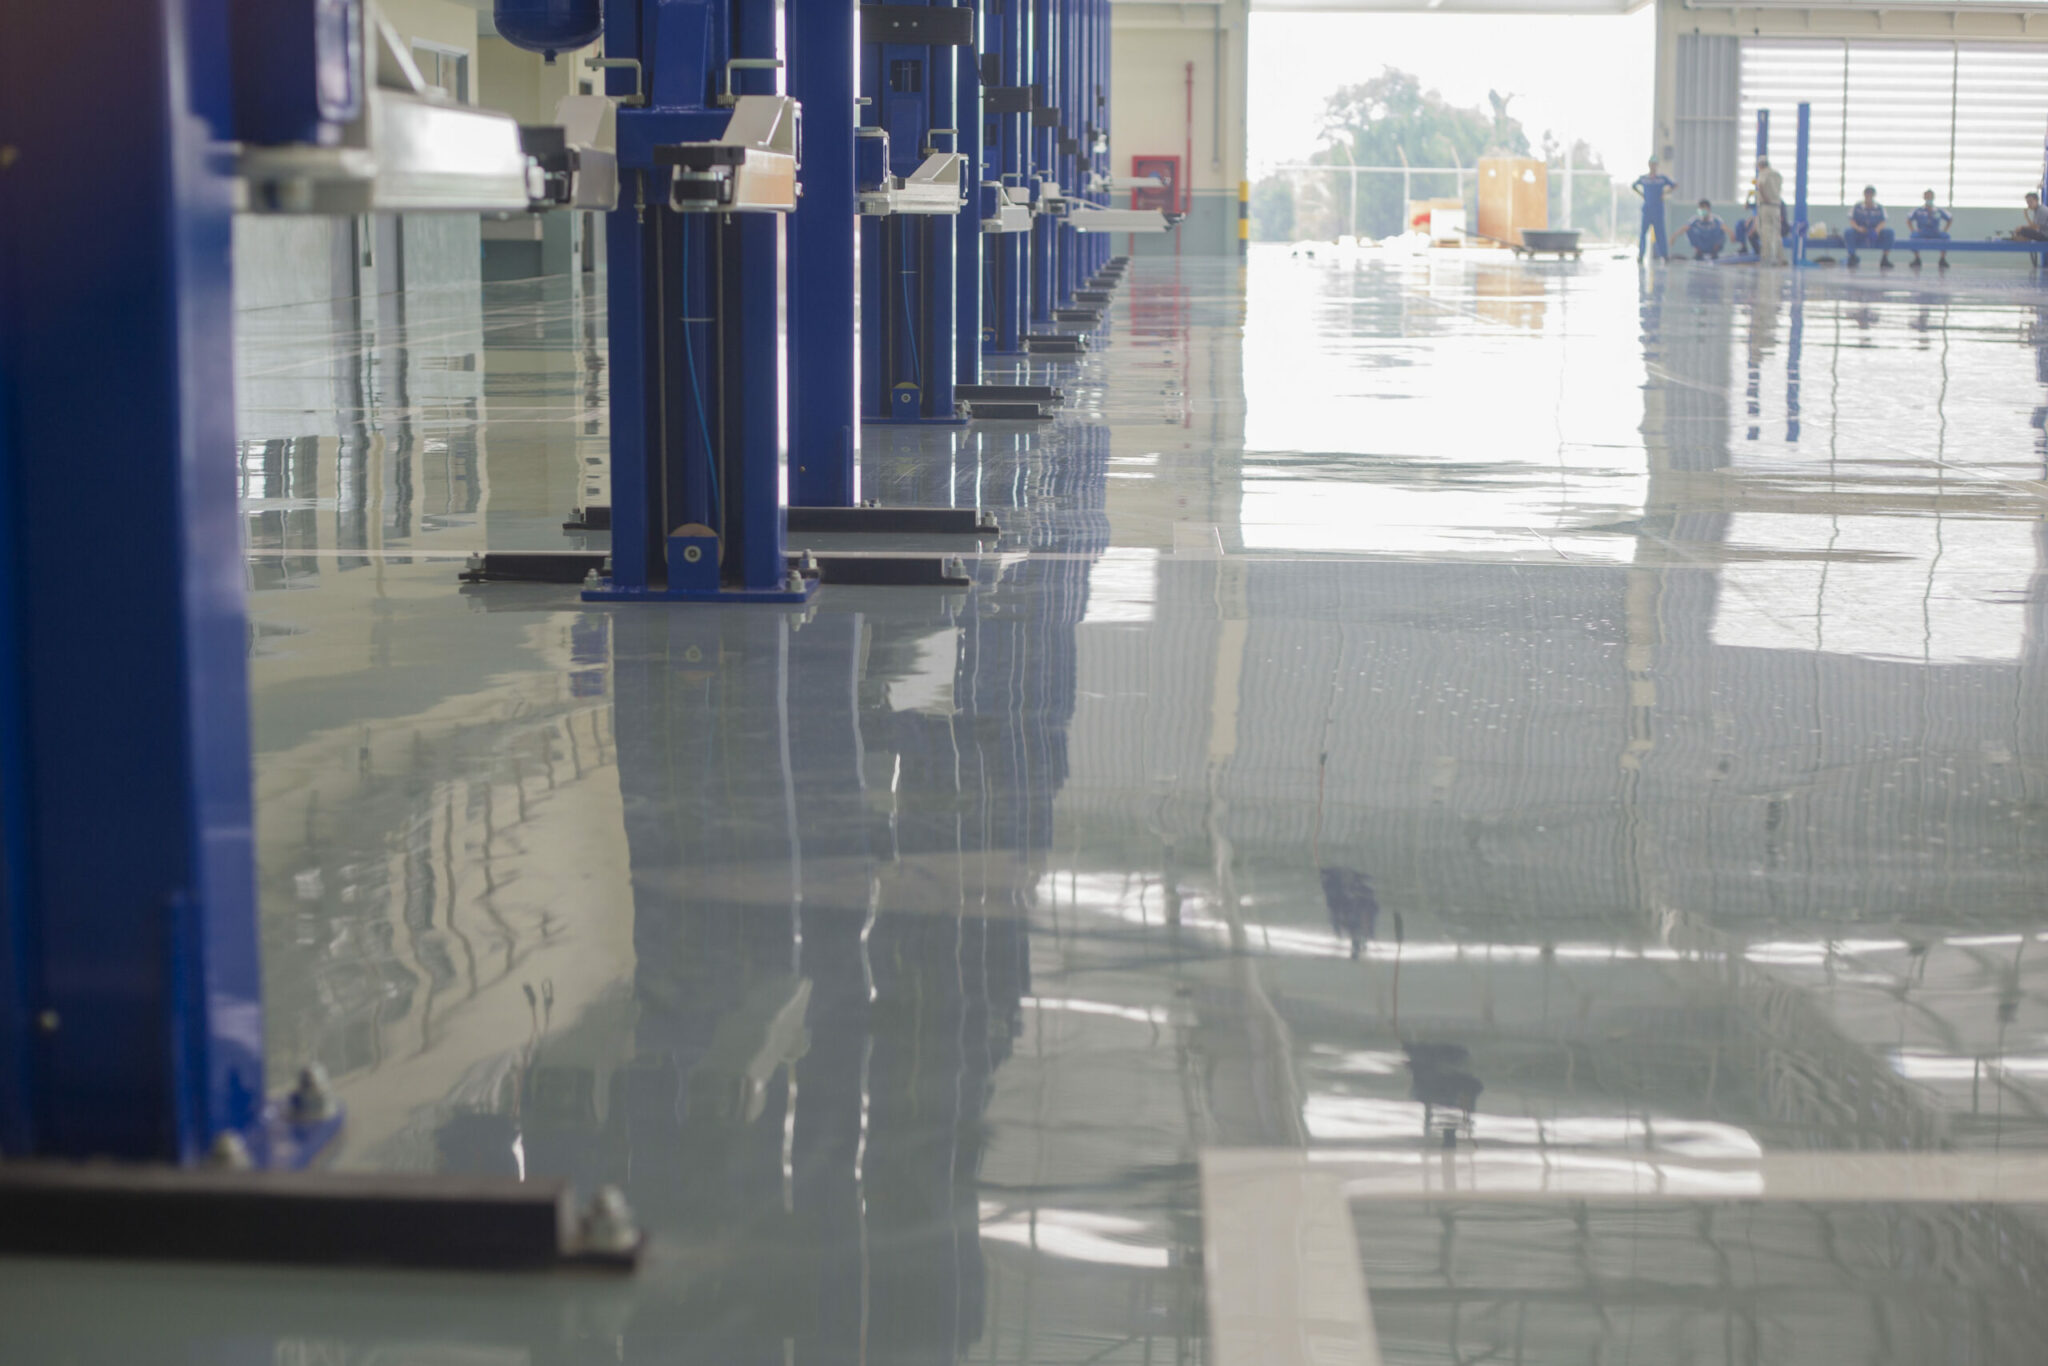
 Industrial epoxy floor coatings add value to your work space by making them brighter, more attractive, and more efficient. The benefits of urethane and epoxy flooring are many – from the maximized cost efficiency to the long term protection and improved look. Below is a step by step process in applying an epoxy coating onto your industrial floor.
Step 1: Diamond Grind area to remove contaminants and prepare concrete for coatings.
Step 2: Vacuum thoroughly to remove dirt and dust from the area.
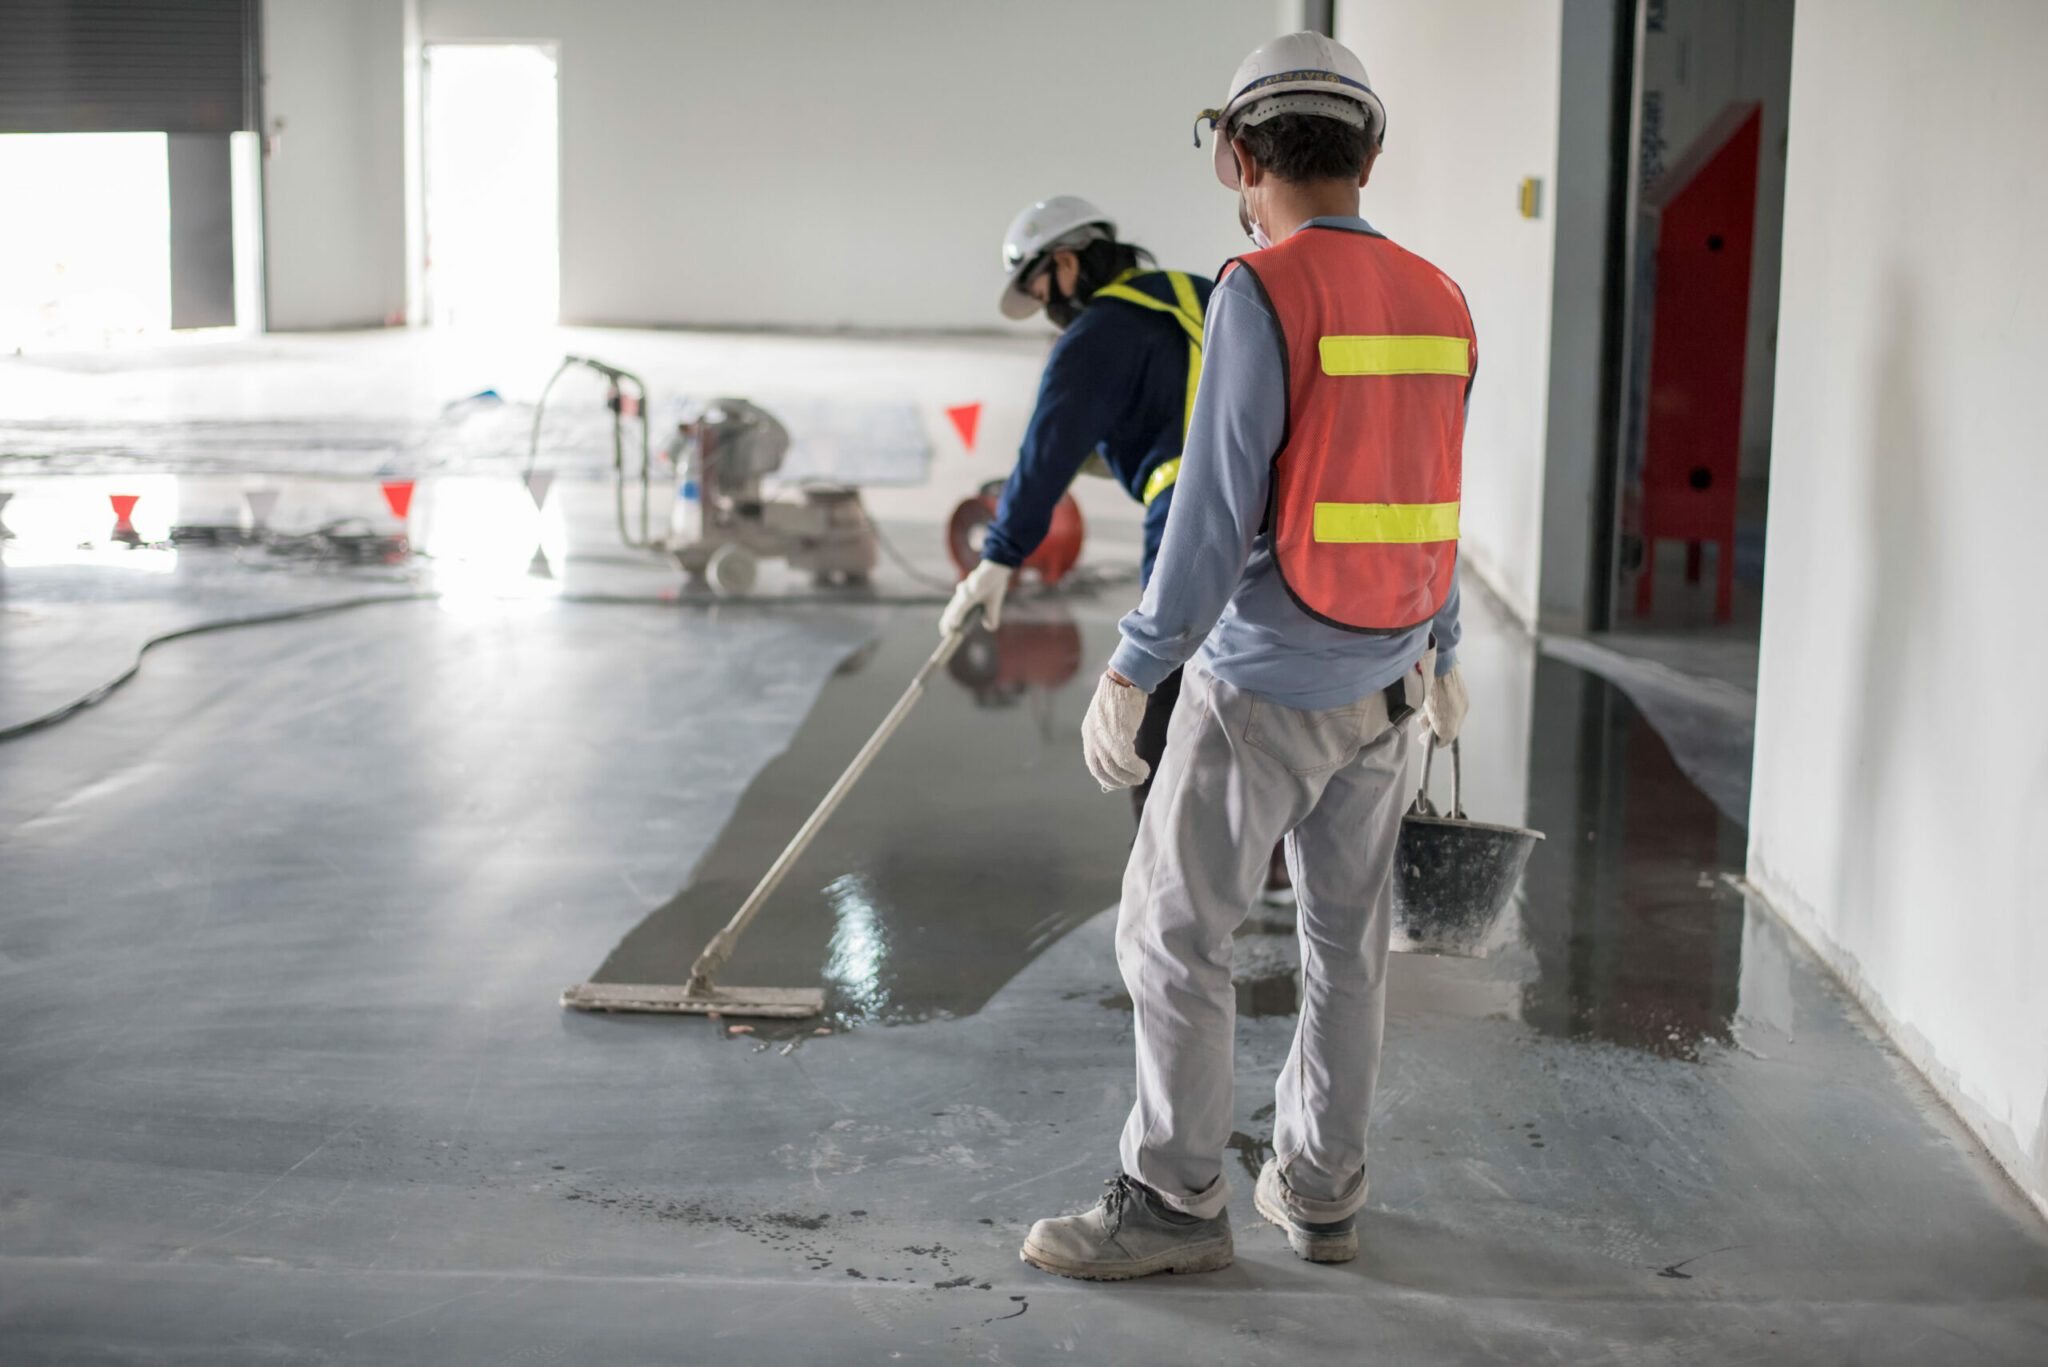
Step 3: Apply 100% solids epoxy prime coat (pigmented) to area, and distribute it with a squeegee.
Step 4: Allow epoxy prime coat to tack over.
Step 5: Apply 100% solids epoxy build coat (pigmented) to area, and smooth the epoxy using a long-handled paint roller.
Step 6: Allow epoxy build coat to tack over.
Step 7: Sand epoxy with 100 grit screens to prepare for topcoat.
Step 8: Rinse area and remove any excess material from your industrial floor
Step 9: Apply aliphatic high gloss urethane (pigmented) to area.
Step 10: Wait for industrial epoxy floor to fully cure, and begin business operations.
If this process sounds too difficult for you to do alone, let Liquid Floor Systems assist you in creating a great looking industrial epoxy floor. We want to help you protect your investment and increase the value of your facility.


